DaDaDocs Lightning component
Lightning experience sidebar component
DaDaDocs for Salesforce allows you to send documents out to be completed and e-signed by customers and partners. Collect submitted documents, update existing objects or create new ones in the Salesforce Lightning Experience using interactive fillable templates from the Lightning sidebar component. There is no need to switch to Salesforce Classic as all templates types are now available in the Lightning sidebar component.
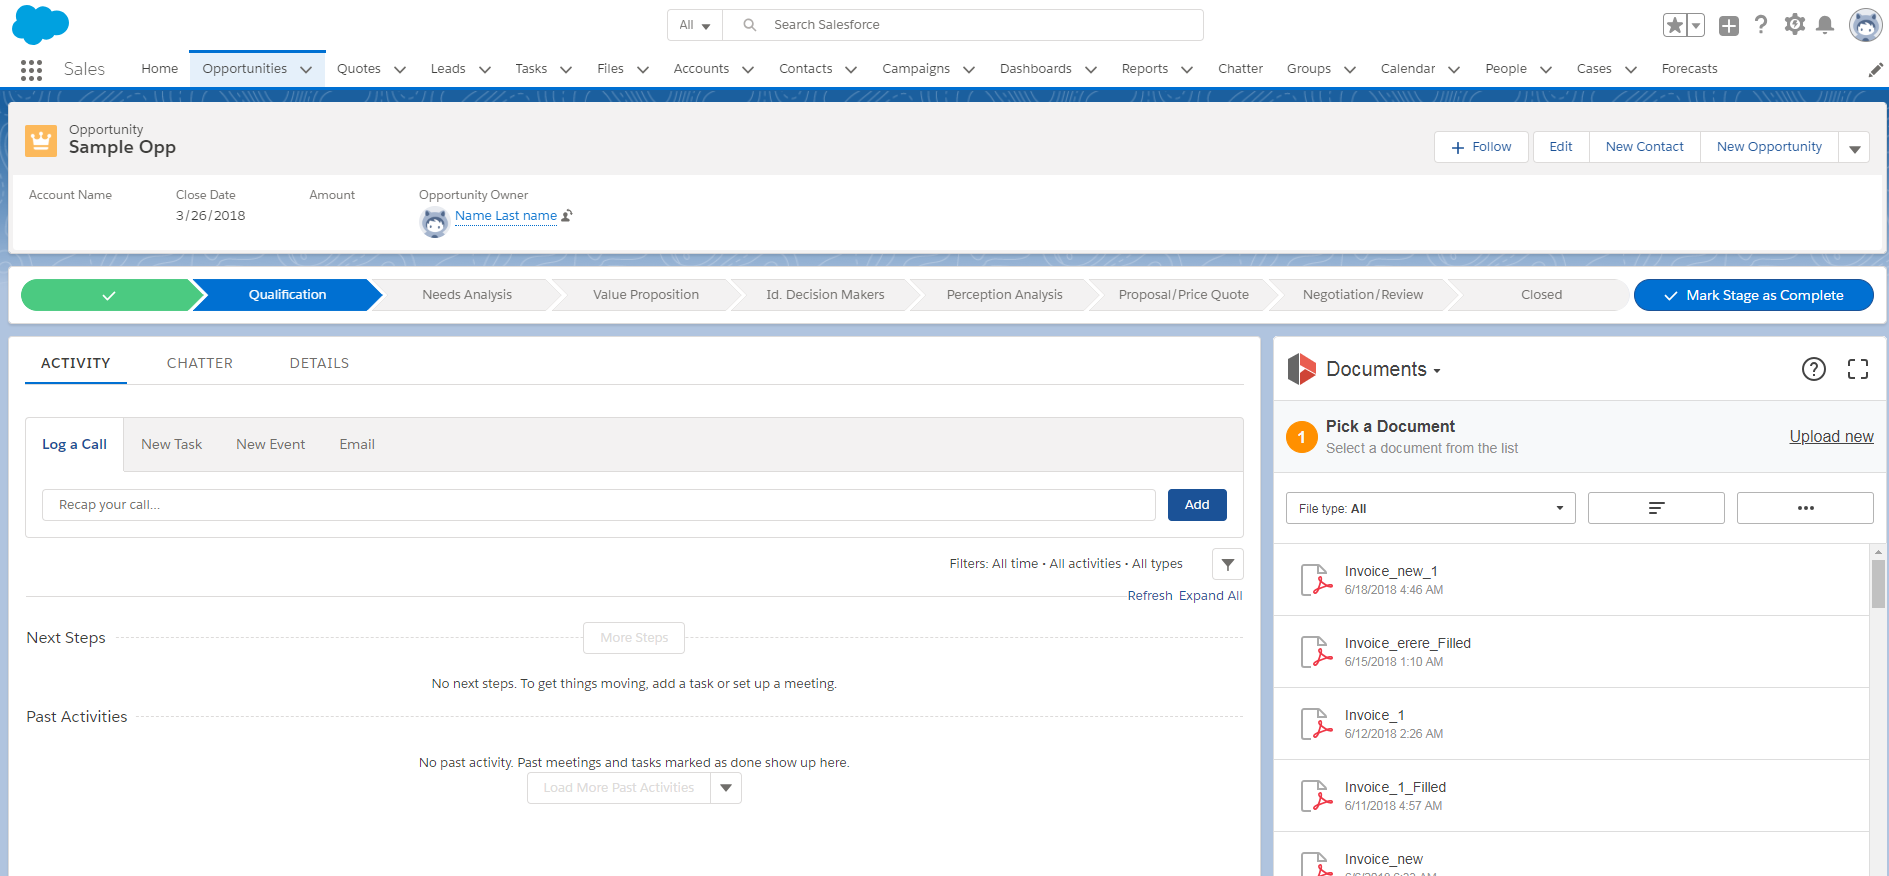
Below is the step-by-step instruction that will help you create a new object or update an existing one as well as use any of the templates directly in your Salesforce Lightning Experience.
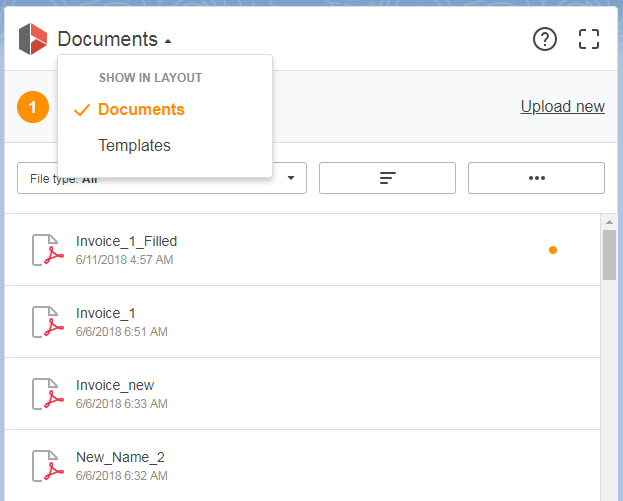
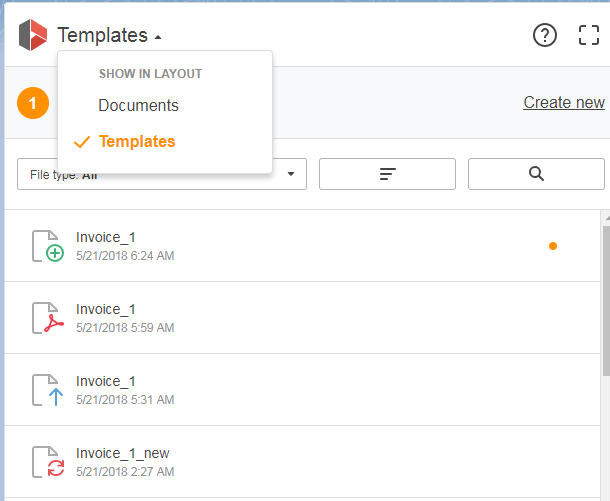
To start working with your lightning components in the Document type dropdown menu, choose Documents or Templates.
Document Tab
The Document tab is where all your documents are stored. Pick the document you need and use it to request signatures, turn it into a fillable template as well as create or update your records. Find detailed instruction below on how to use your documents directly in the Salesforce Lightning Experience sidebar component.
- To upload new a document click the Upload New button. It is possible to drag and drop or upload multiple documents.
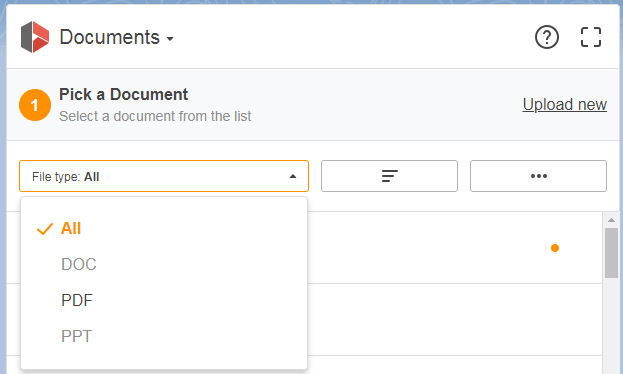
- In the File type dropdown choose the file type you need.
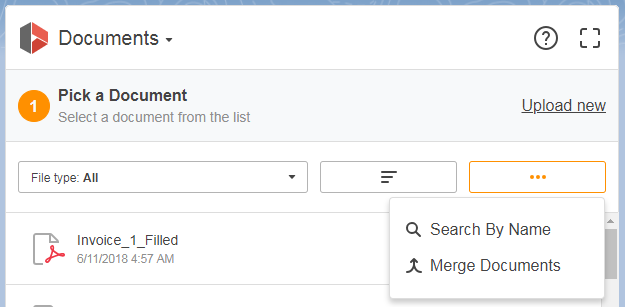
- Click the button on the right of the Document Option section to choose the quick search or merge option.
- Once you’ve finished making the necessary settings, select a document from the list. After clicking a document, the Action menu will open. You can edit a document, send it out for signing, make it publicly accessible via a link as well as create a template intended to update or create an object.
Note that you can choose another document by clicking Change near the selected document.
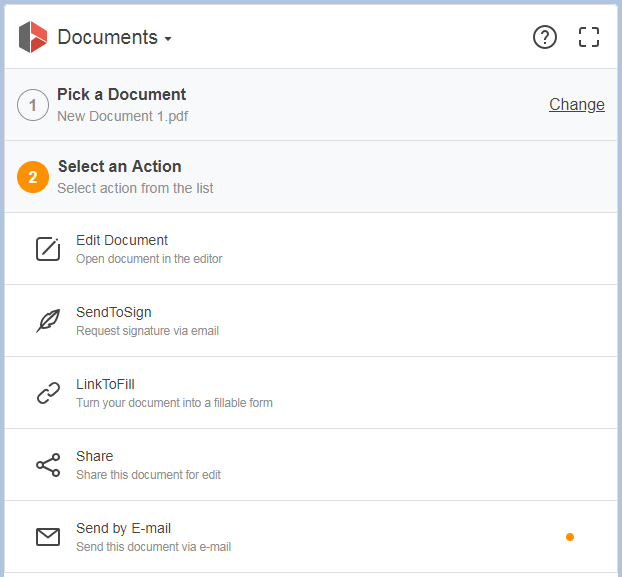
- To send the document out for signing choose the SendToSign option. Enter the emails of the recipients and click SendToSign at the bottom. You can add as many recipients as you need. To make more settings for your signature request click Full Settings to the right.
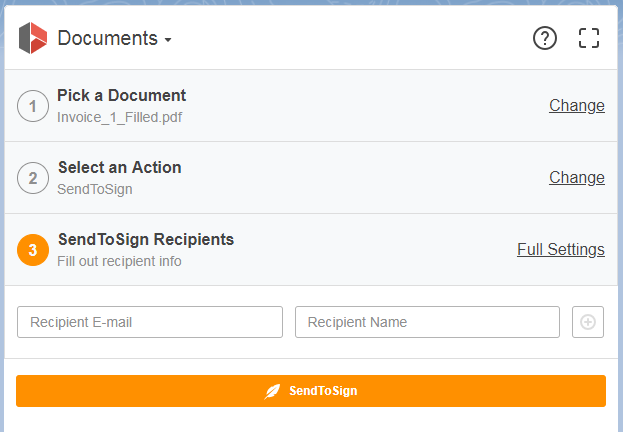
- Choose LinkToFill to share your document via a link. The link for your document will be automatically generated. Click Copy Link to copy your link to the clipboard. For more settings click Full Settings to the right.
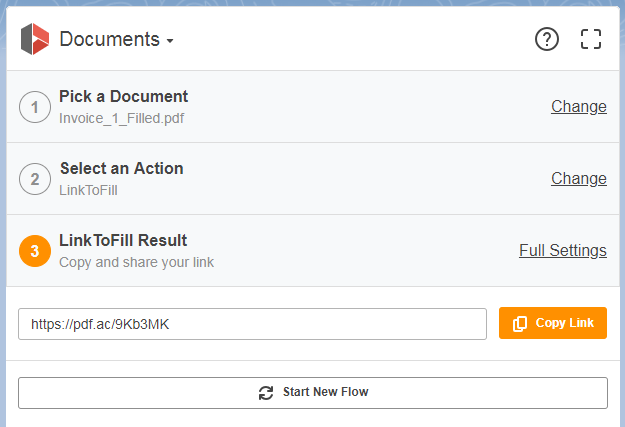
- Select Share to collaborate on any PDF, DOCX or PPTX documents with non-salesforce users by sharing them via a direct link. Share your documents in a few clicks with as many recipients as you need. Just click the Copy Link button to copy your link to the clipboard and then share it directly with your recipients.
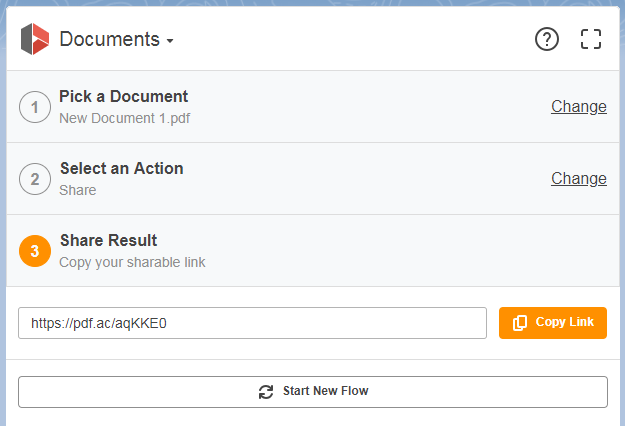
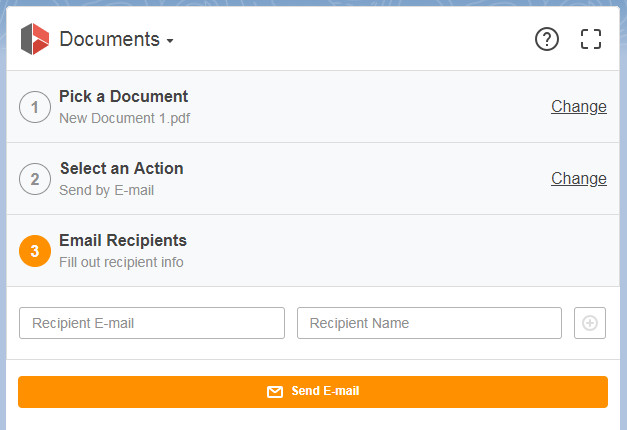
- The Send by Email option allows you to easily share your documents with as many recipients as you need via email. Enter a recipient’s email address and click the plus icon to add it. Then click the Send E-mail button at the bottom.
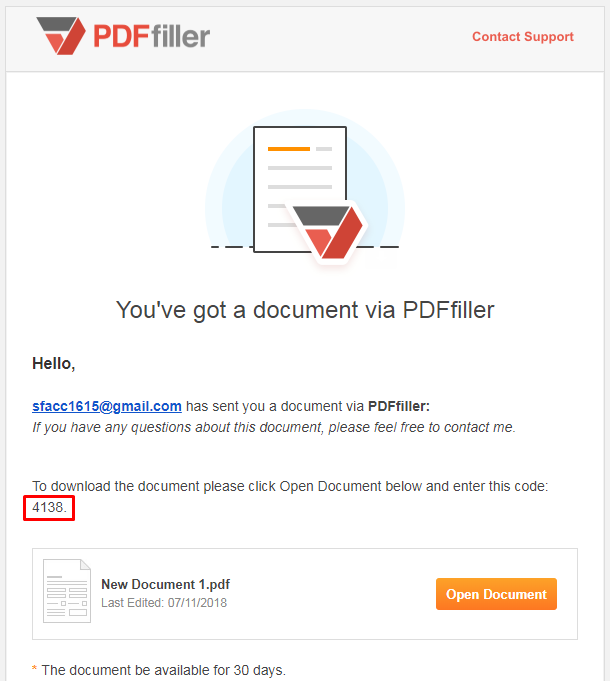
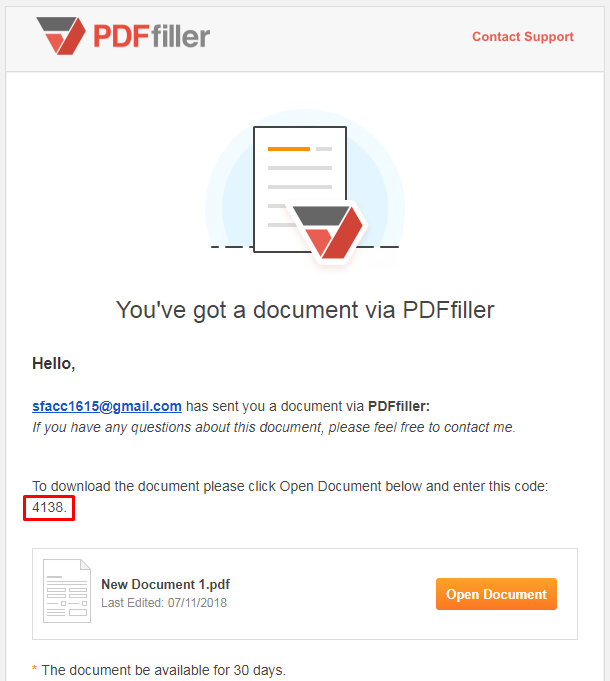
Recipients will receive an email with a code that must be entered in order to open the attached document.
Template Tab
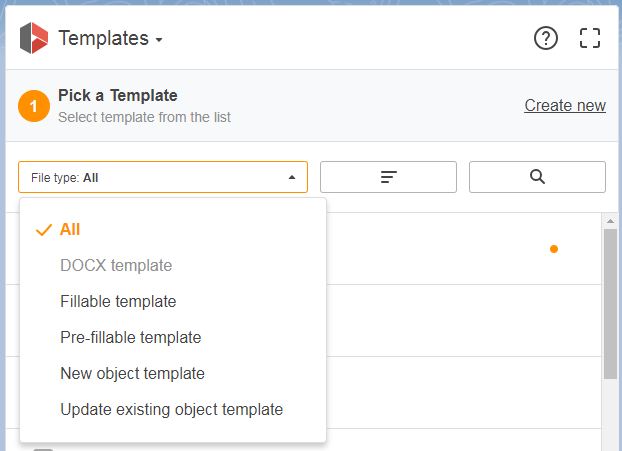
The Template tab is where your fillable templates can be used. The following template types are available:
- fillable templates
- pre-fillable templates
- create object templates
- update object templates
- DOCX templates
Choose your template type from the list and then share it with customers via a link or send it out for e-signing.
- To create a new template click the Create New button. You will be redirected to the DaDaDocs tab where you can turn a selected document into a template type.
- In the File type dropdown choose a file type.
- After selecting a template in the list, the Template Option menu will open. You can edit a template, send it our for signing or make it publicly accessible via link.
You can choose another template by clicking the Change button near the selected document.
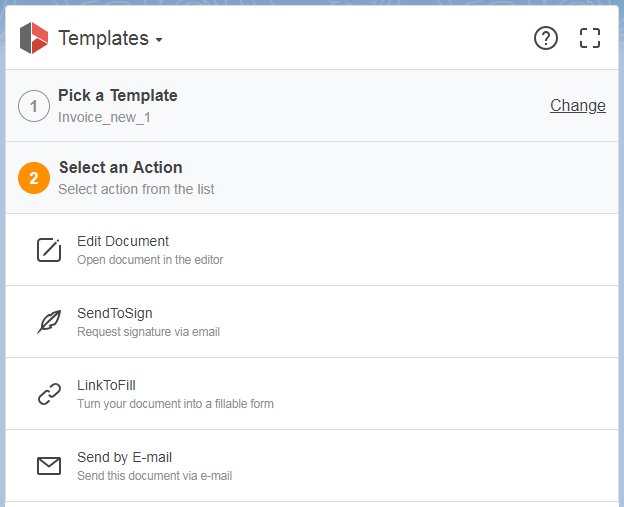
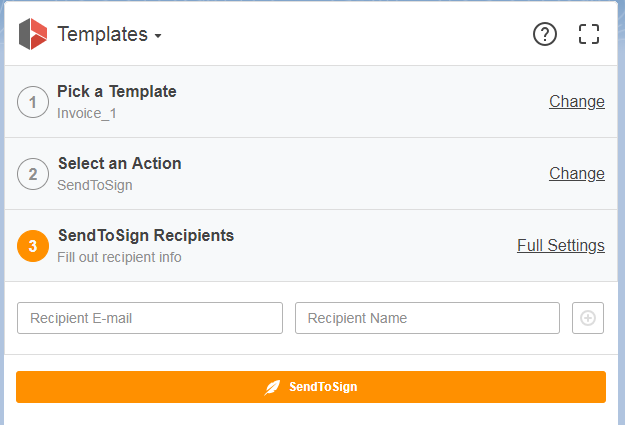
- To send the template out for signing choose the SendToSign option. Enter the emails of recipients and click SendToSign.
You can add as many recipients as you need. To access more settings for your signature request click Full Settings on the right.
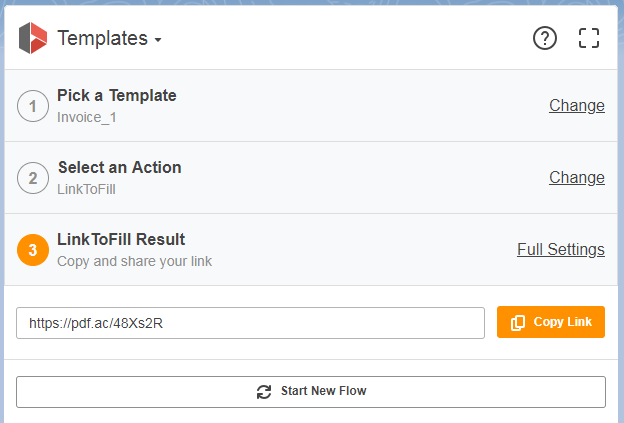
- Choose LinkToFill to share your template via an automatically generated link. Click Copy Link to copy your link to the clipboard. For more settings click Full Settings to the right.
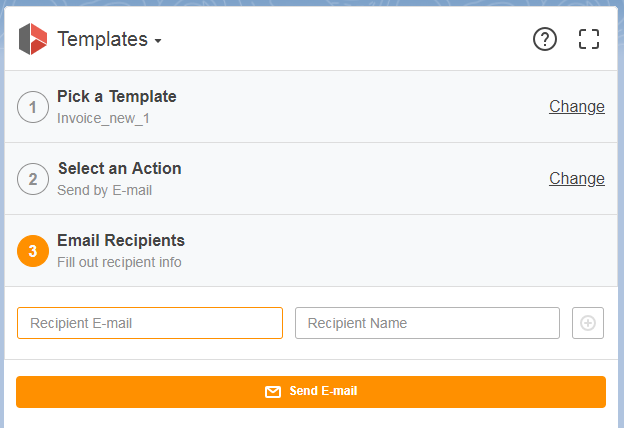
- The Send by Email option allows you to easily share your templates with as many recipients as you need via email. Enter a recipient’s email address and click the plus icon to add it.
Then, click Send E-mail at the bottom.
Note: The Send by E-mail option is only available for fillable templates and pre-fillable templates.
Recipients will receive an email with a code that must be entered in order to open the attached document.
Updated over 5 years ago
