Send DocX templates with SignNow
Follow the steps below to add SignNow as the e-signature provider for your shortcut button directly from your Salesforce object record.
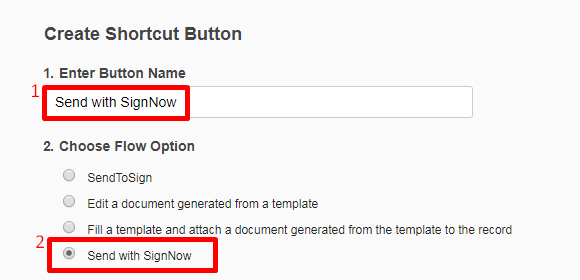
- In the Create Shortcut Button window, enter a name for your button (Send with SignNow in the example). For the flow option, assign the Send with SignNow function to it.
This will allow you to send your DocX templates out to be e-signed with SignNow.
Note! To send your DocX templates out to be e-signed with SignNow, remember to go to the DaDaDocs settings and check the Get Your Documents Signed With SignNow box in the Feature-specific settings section.
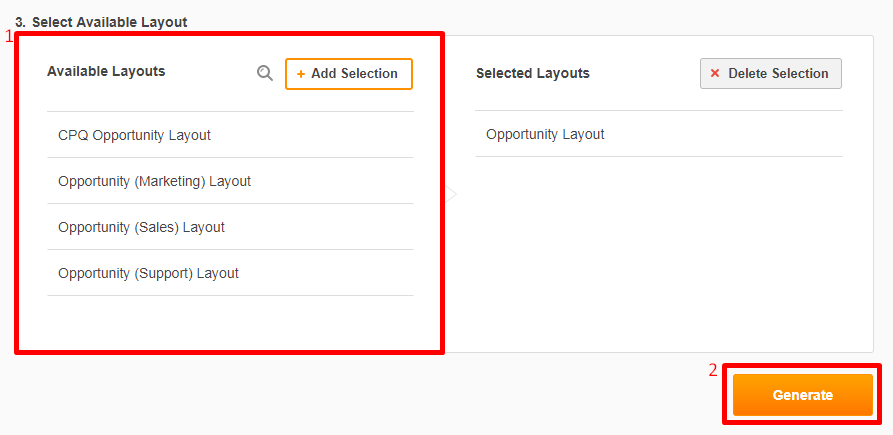
- Add the available object layout (or several) by selecting object layouts and clicking Add Layout.
Note that your DocX template’s initial objects are the same objects you added during the template creation stage. If you’d like to remove a selected layout, select it and click Delete Selection.
When finished, click Generate.
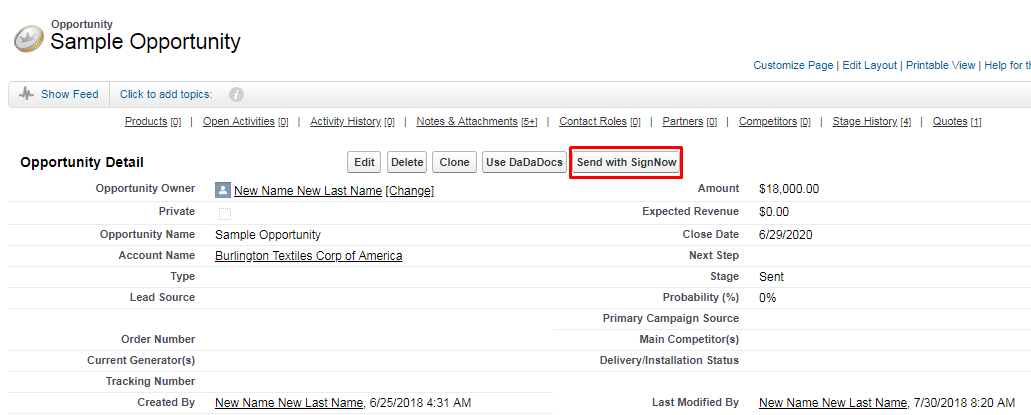
The Shortcut Button will now be added to your record page. To start using it, click your custom button on the record page.
Salesforce Classic:
Salesforce Lightning:

- On your object page, click your custom Send with SignNow button.
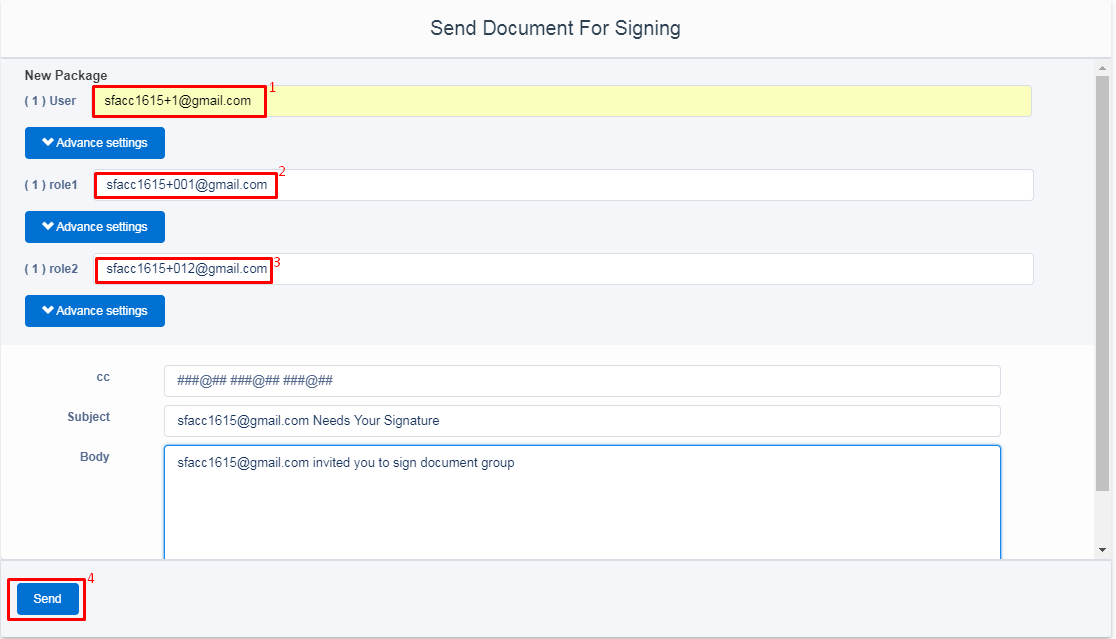
In the signature request window, enter the email addresses of your recipients, then click Send.
For more information on how to send you documents out to be e-signed with SignNow, refer to the SignNow for Salesforce user guide (Send with SignNow section).
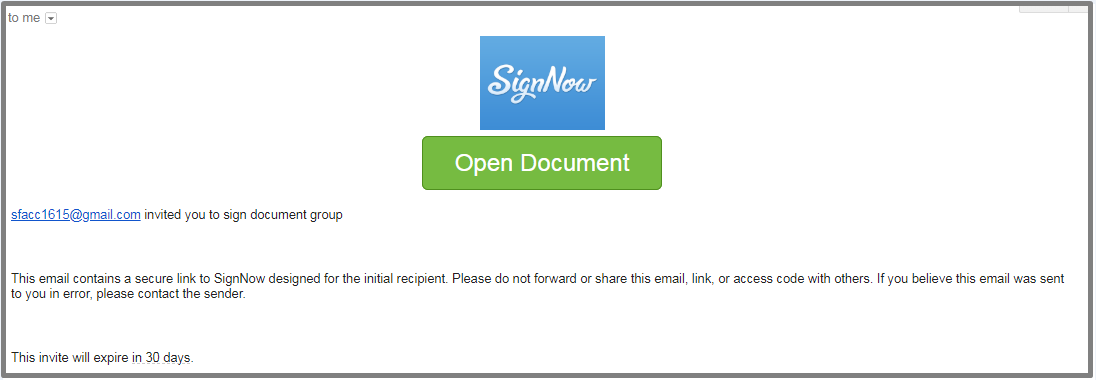
Your recipients will receive an email with a secure link to sign the document via SignNow.
Updated over 6 years ago
