DocX / PptX templates
Easily turn simple DocX and PptX documents into DocX and PptX templates. Quickly populate the fields of your documents with client data and send them out for e-signing, no need to manually transfer data from your Salesforce account. Before you begin, make sure to turn your DocX and PptX documents into DocX and PptX templates.
Note! This option is only available for Salesforce users with System Administrator privileges.
Instantly create DocX and PptX templates that you can adjust in seconds. Refer to the short step-by-step instructions below to get started:
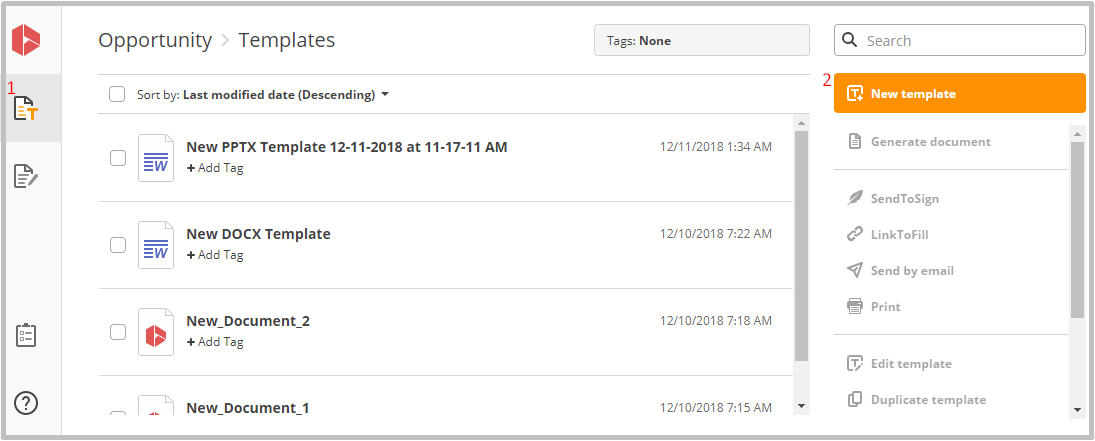
- Navigate to the Templates tab and click New template.
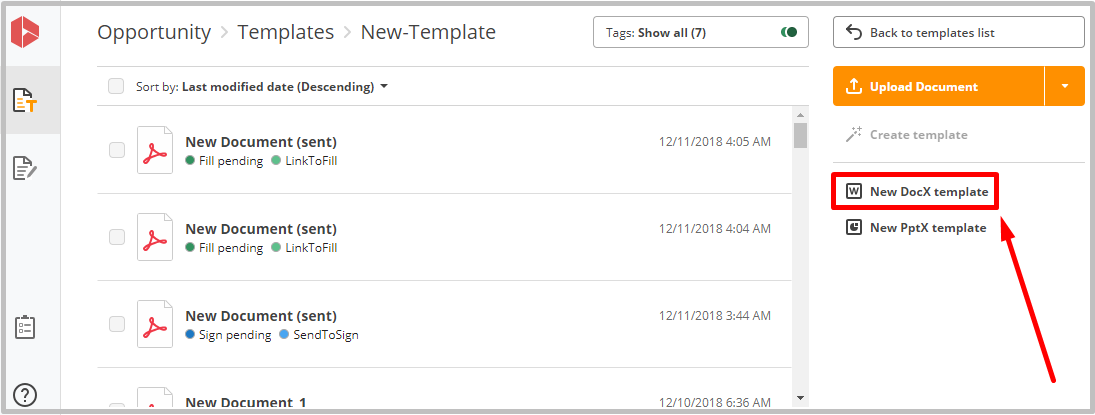
- Select New DocX template to create a new DocX template.
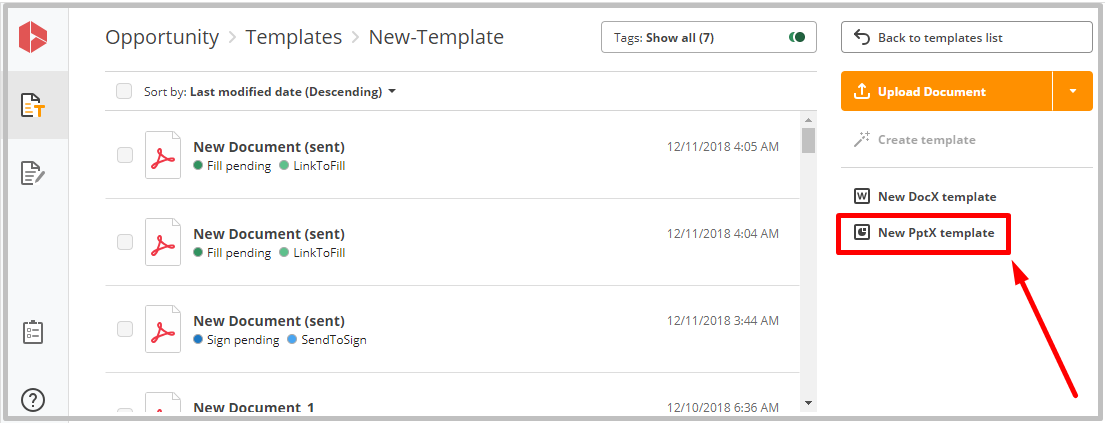
Select New PptX template to create a new PptX template.
You will be redirected to the wizard for creating your DocX or PptX templates.
Template info
In the Template info tab, enter a name for your DocX or PptX template and choose a starting object (New DocX template in the example).
Add a description if needed. A template description is optional, but can be useful for users to understand the purpose of a DocX or PptX template.
To choose a related parent object, click Next to related parent.
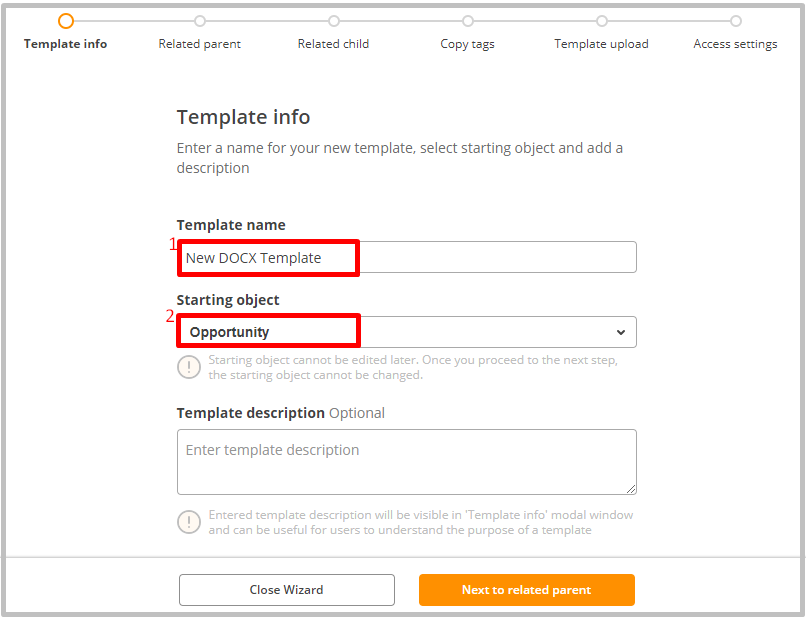
Note! You can only cancel the creation of a DocX or PptX template in the first step of the wizard. After the first step, you will only be able to save it.
Related parent
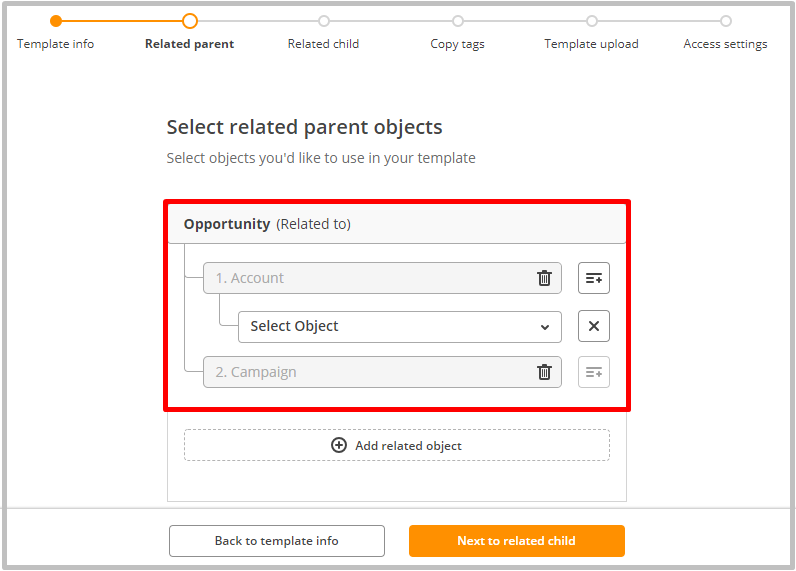
In the Related parent tab, select the parent objects that your starting object will be related to. Begin by clicking Select object and choose the needed parent object from the list.
To add another object, click Add related object.
To add the object that the parent object will be related to, click the plus icon next to the parent object.
To select the related child object, click Next to related child.
Navigate back to previous steps of the wizard if needed.
Related child
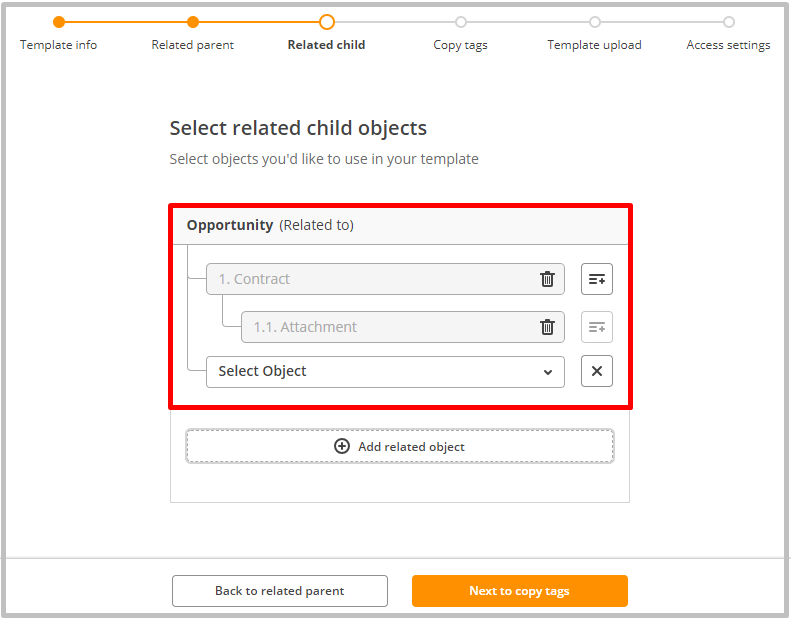
In the Related child tab, select the child objects that your starting object will be related to.
To do so, click Select object and choose the needed child object from the list.
To add another object, click Add related object.
To add the object that the child object will be related to, click the plus icon next to the child object.
To proceed to adding tags, click Next to copy tags. Navigate back to previous steps of the wizard if needed.
Copy tags
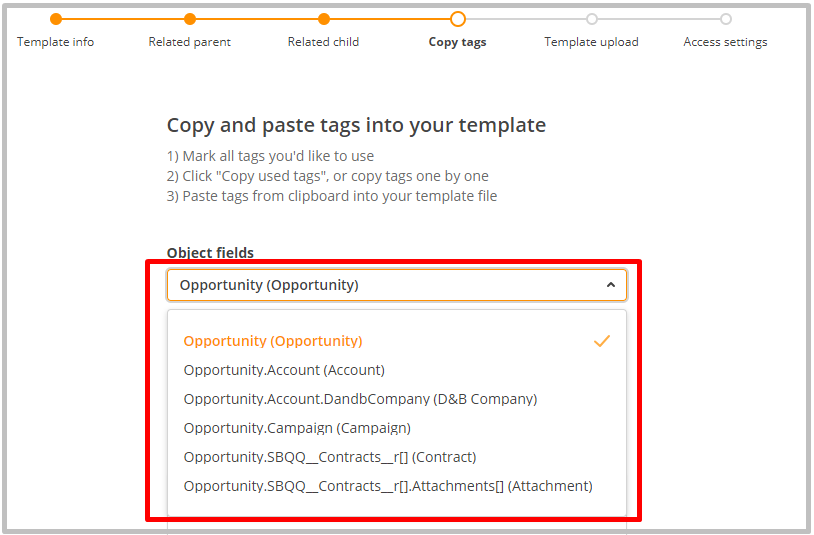
In this section, select the field data within the object that will be exported to your DocX or PptX template from Salesforce records.
In the Object fields dropdown menu, choose the object whose fields will be available for adding to the Field tags section.
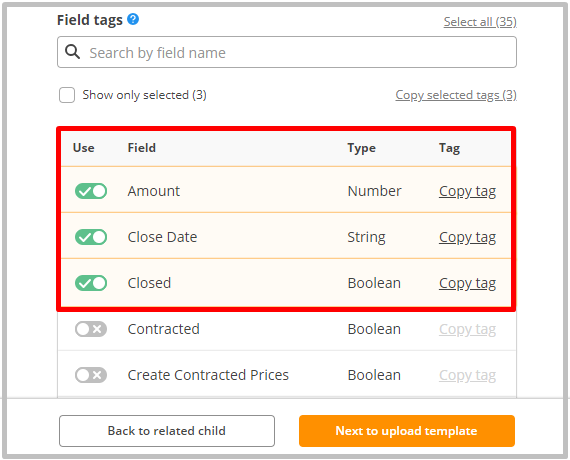
- Choose the field tags you’d like to add to your DocX or PptX template by switching the toggle key next to each field tag.
You can also search for needed tags by field name in the search line.
To select all tags in the list, click Select all.
To view the list of selected field tags, click Show only selected.
To copy selected field tags to your DocX or PptX template, click Copy selected tags and paste the field syntax directly into your template.
Alternatively, click Copy tag next to each field tag separately and paste the field syntax directly into your template.
To proceed to uploading a DocX or PptX file, click Next to upload template. Navigate back to previous steps of the wizard at any time.
Template upload
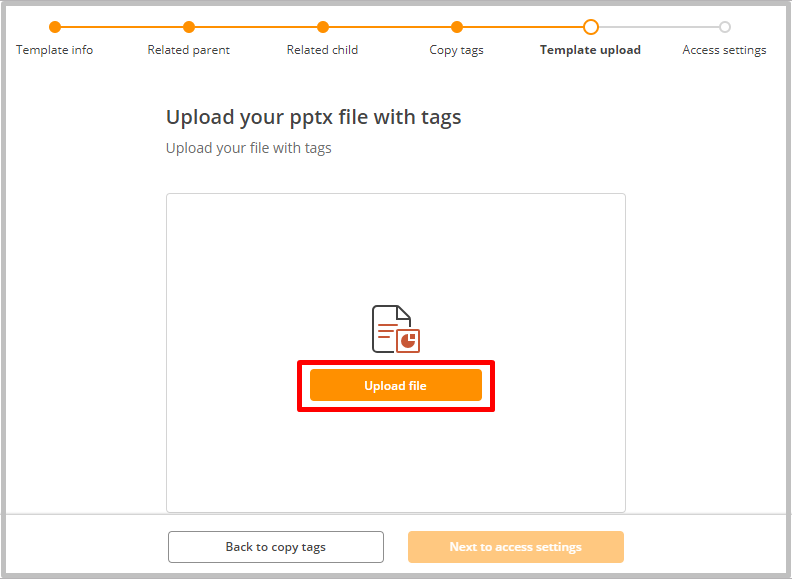
In the Template upload tab, upload a DocX or PptX document with the previously copied tags you’ve selected.
Click Upload file.
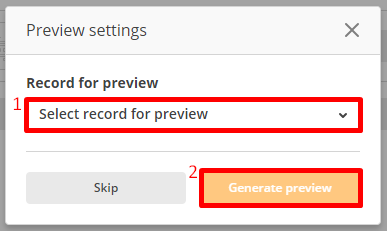
In the Preview settings pop-up, select a record for preview and click Generate preview.
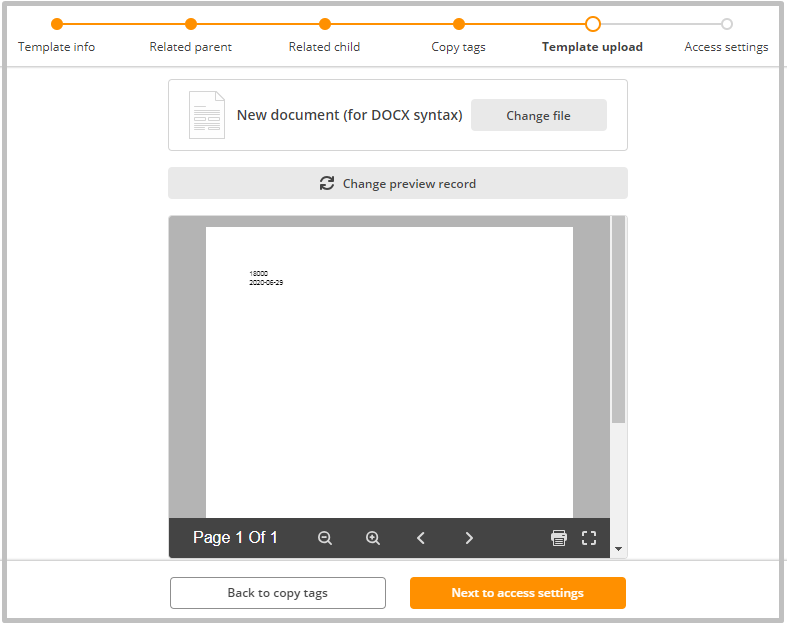
You will see a document filled with data from the chosen record.
To change a record, click Change preview record.
To configure access settings for your DocX or PptX template, click Next to access settings.
Navigate back to previous steps of the wizard if needed.
Access settings
Easily specify users who will be given access to your DocX and PptX templates as well as the ability to create documents using these templates. You can select users by profiles and roles.
Once you’ve switched to the Access settings tab, all the users will be automatically selected.
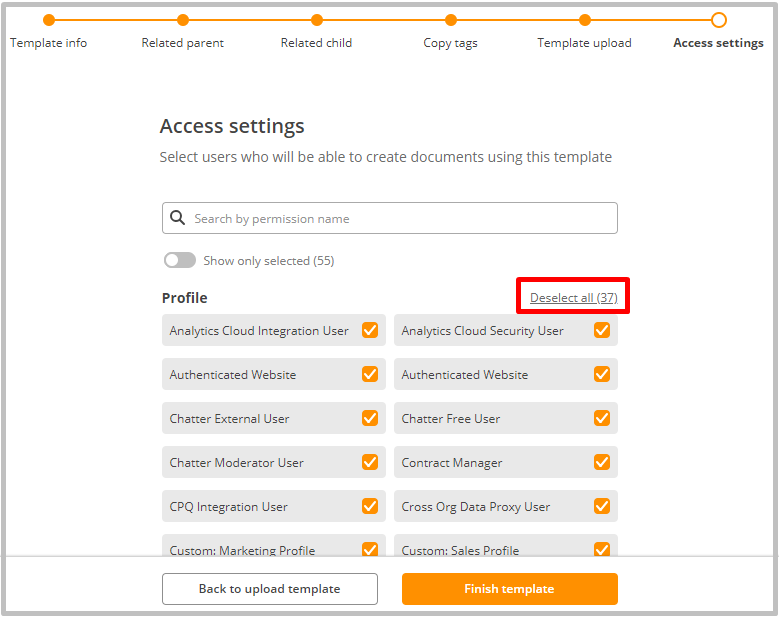
To grant specific users access to your DocX or PptX template, click Deselect all. Then, select individual checkboxes next to the specific users.
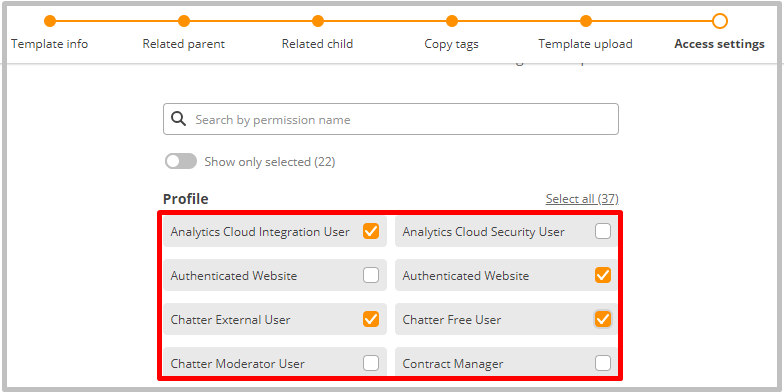
To view a list of selected users only, click Show only selected.
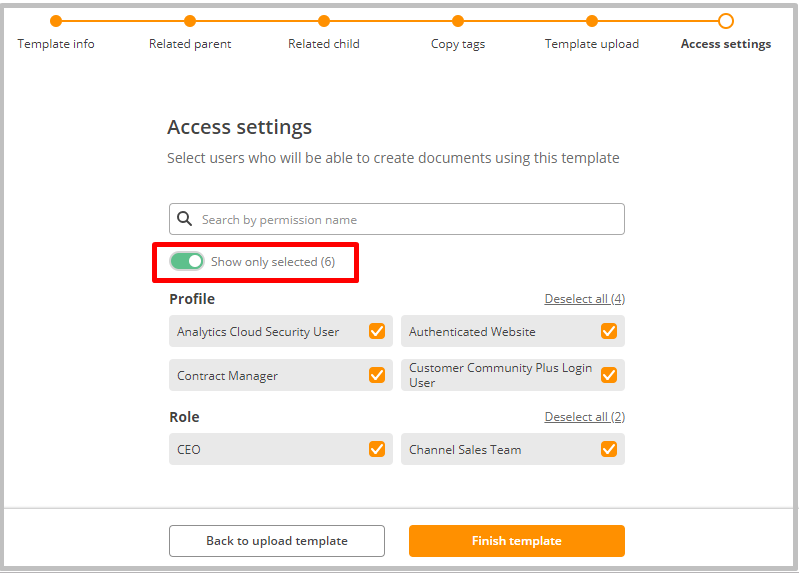
To save your DocX or PptX template and template settings, click Finish template.
Remember that you can save your template progress at any step of the wizard by clicking the cross icon.

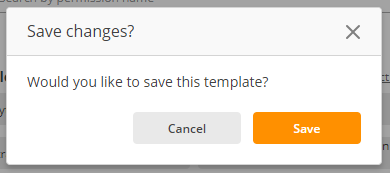
In the Save changes pop-up, confirm your actions by clicking Save.
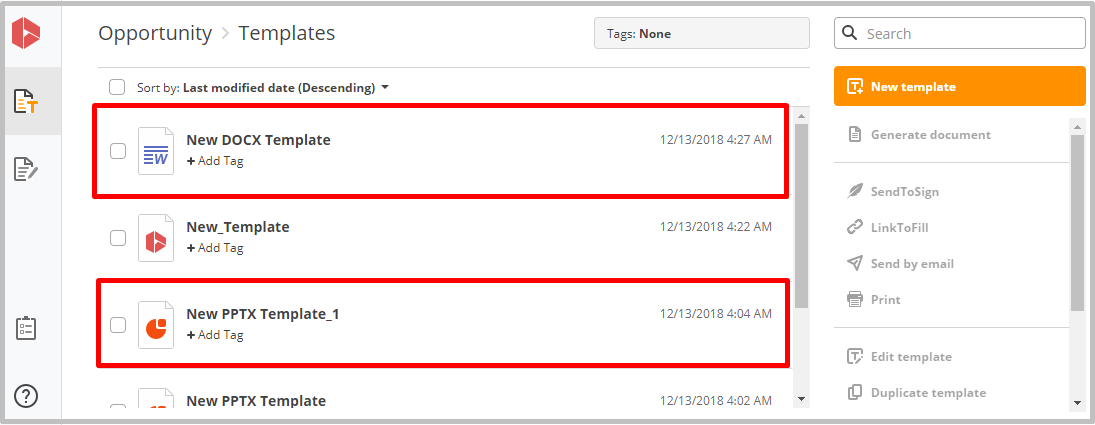
The DocX or PptX template will be automatically saved to the Templates tab and will be ready for immediate use.
Updated over 6 years ago
